Using a computer is one thing and fixing it is another.If you’re a computer user in any way, you’ll likely need to format your USB drive, or pen drive, someday. Users think formatting is only done when the drive is full of old files and needs to be completely emptied. But the truth is quite different. You might have a drive that’s causing the operating system to malfunction, or the data has been corrupted. Formatting can restore your drive to near-perfect condition. It’s crucial to make the right assumptions. Therefore, in this topic, we’ve discussed how to properly format a USB drive on Windows, which file format might be right for you, and what to consider when formatting.
Table of Contents
What is the real meaning of formatting?
Formatting is a deleting process. People often think that Formatting doesn’t just mean deleting data, but it’s not. When you format a drive, the system interprets it as permission to rewrite its sectors. To prevent old data from being recovered, it resets the file system and checks the drive for bad sectors.
For this reason, it’s a good practice to format any old USB drive before using it again, even if you’ve already deleted all the files on it. Formatting completely clears hidden ghost files, any malware, and other unwanted data, making it a good idea to do so. The drive’s stability is also maintained.
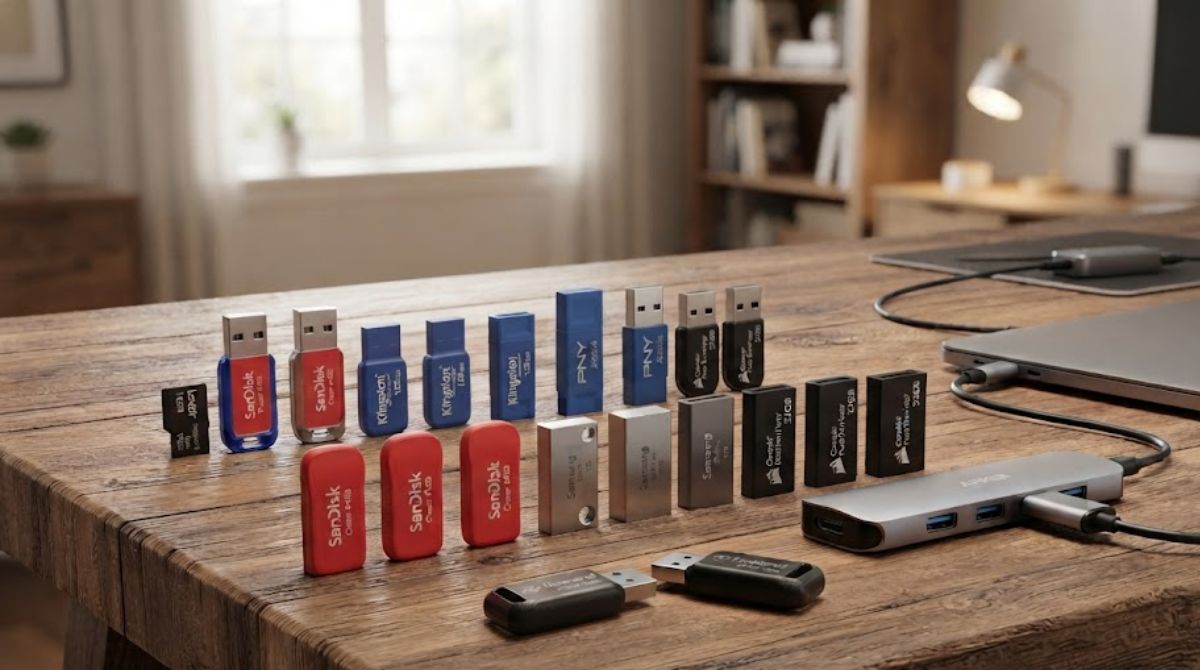
It’s a good idea to keep this in mind. It’s always recommended, or even recommended, to format a newly purchased USB drive before using it. Most drives from brands like SanDisk, Kingston, and others come pre-set in the older FAT32 format. This format works perfectly on almost every device, but it can’t save files larger than a few gigabytes.
What is the best storage format for Windows?
Before formatting a USB drive, it’s important to understand which file format is best for a particular task. You can make your selection based on that. Three points have been included for this purpose.
1. NTFS
Windows itself uses the NTFS format for its internal drives because it supports features like partitioning and encryption. If you plan to use your USB 2.0 or USB 3.0 drive exclusively with Windows systems, NTFS is the best choice. An important note: If your drive is likely to be used with Linux, Android, iOS, or macOS devices, avoid using NTFS, as its compatibility with these systems is limited, which could lead to problems later on.
2. exFAT
On the other hand, there is exFAT.If you want to use your drive with multiple operating systems, exFAT is the best choice. This format can easily handle files larger than 4GB. If you’re using the drive to expand your Android phone’s storage, store movies, 4K videos, or large compressed files, exFAT is the best choice. It doesn’t have as many advanced features as NTFS, but it’s perfect for thumb drives and portable SSDs.
3. FAT32
FAT32 is the oldest format and has the highest compatibility. It works with almost any device with a USB port, such as an old car stereo or an old printer. However, its major limitation is that it can’t support files larger than 4GB and tends to fragment more quickly. In some cases, even Windows 11 doesn’t work perfectly with FAT32, so it’s best to choose it only for older devices.
How to Format a USB Drive on Windows
In this final step, weLet’s talk about the actual process, which is quite simple. You can complete your final task by following the steps below.
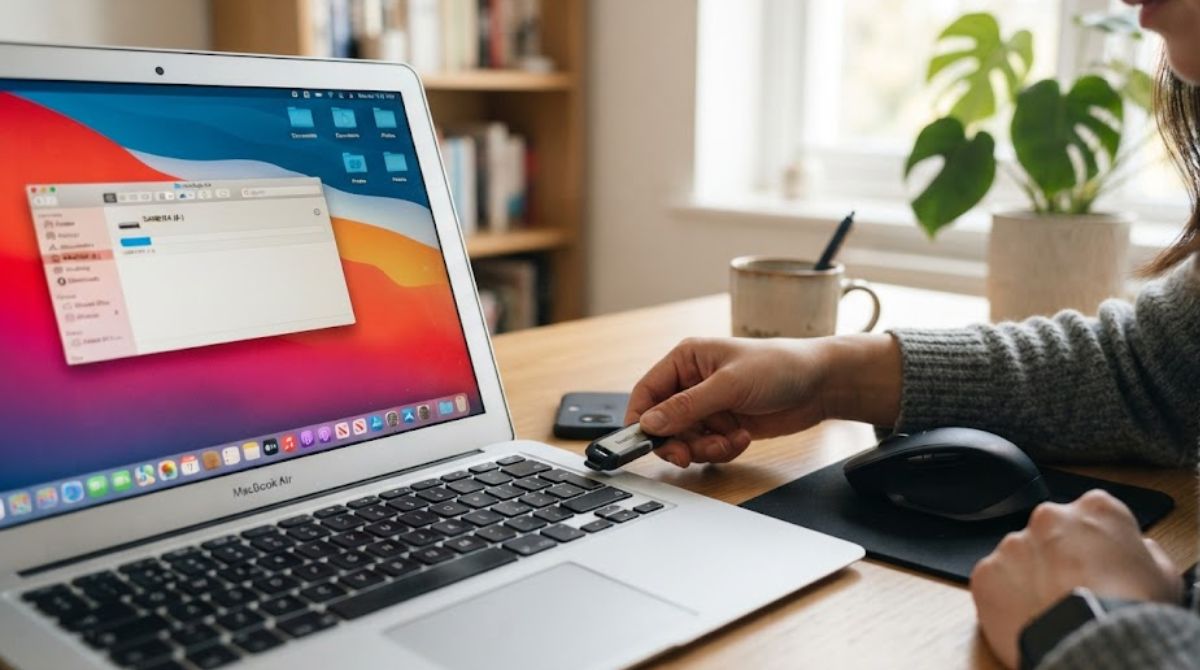
- Plug your USB storage device into a high-speed USB port on your computer.
- Open Windows Explorer.
- In the left navigation panel This PC Click on.
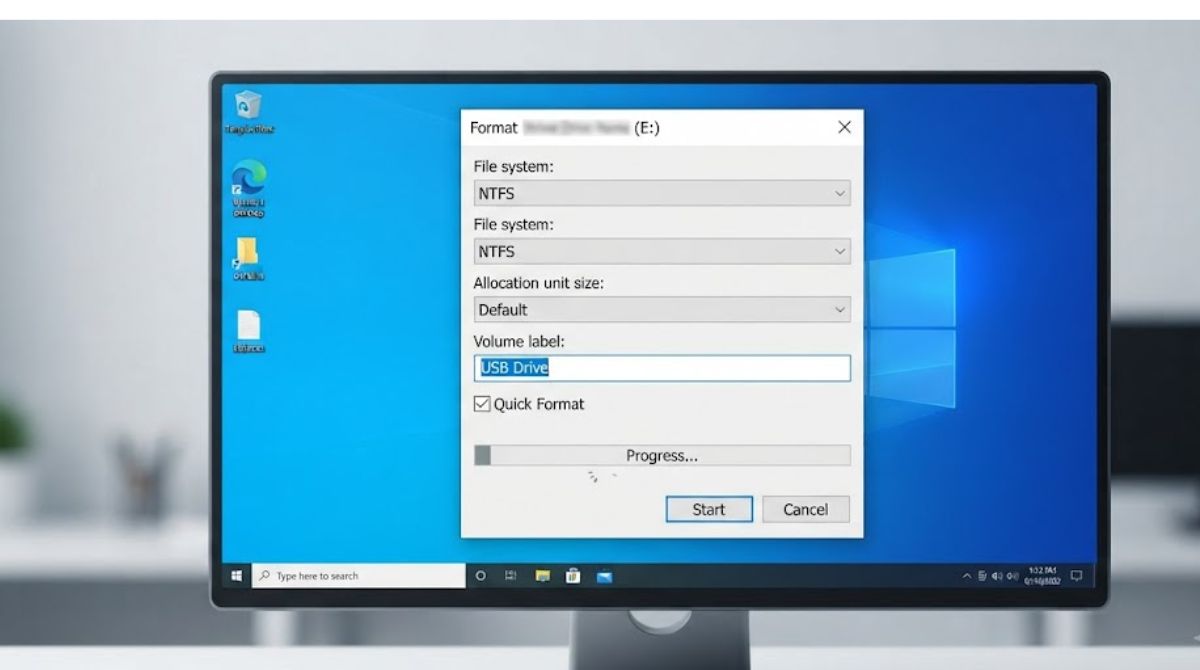
- Right-click on your USB drive and Format Select the option. Be sure to select the correct drive, and ensure that no files on that drive are open in any other program.
- When the Format window opens, select your preferred file format from the second drop-down menu. As mentioned above, select exFAT if the drive is intended for use with Android, Linux, or Mac devices, and NTFS if it’s only for use with Windows.
- Leave the File Allocation Size at its default value for most modern USB drives, which is 32KB or 128KB in exFAT. If you want to store large files like games, choose a larger allocation size, and for smaller files like text notes, a smaller allocation size is best. As a general rule, the larger the drive and the larger the files, the larger the allocation size.
- Volume LabelUnder , you can give your drive a custom name if you want.
- Now FormatClick on the button, and on the confirmation pop-up that appears OK Press.
Depending on the size of the drive and the amount of data on it, it’s normal for formatting to take anywhere from a few seconds to a few minutes. Once the process is complete, another pop-up will appear. Confirm it and close the formatting tool. Your USB drive is now fully formatted and ready to use.
Read More:
- Telegram suddenly disappears from iOS App Stores worldwide, with no explanation from Apple
- Apple makes a big move in China: Mac users can now use Alibaba Qwen AI
- SK Hynix big bet: $38 billion investment will change the world of memory chips
Things to keep in mind
- Before starting formatting, make sure to backup the important files present in the drive, because it is difficult to recover the data after formatting.
- It’s crucial to choose the correct drive letter so you don’t accidentally delete data on another drive.
- If the drive will be used with an older device, consider its compatibility with that device when choosing a format.
Formatting a USB drive isn’t a simple task; it’s important to choose the right file format and carefully follow the correct steps. Whether you’re setting up a new drive or reusing an old one, the methods above will help you format your USB drive on Windows without any hassle. Choosing the right format will not only improve your drive’s performance but also make it work better with a variety of devices.